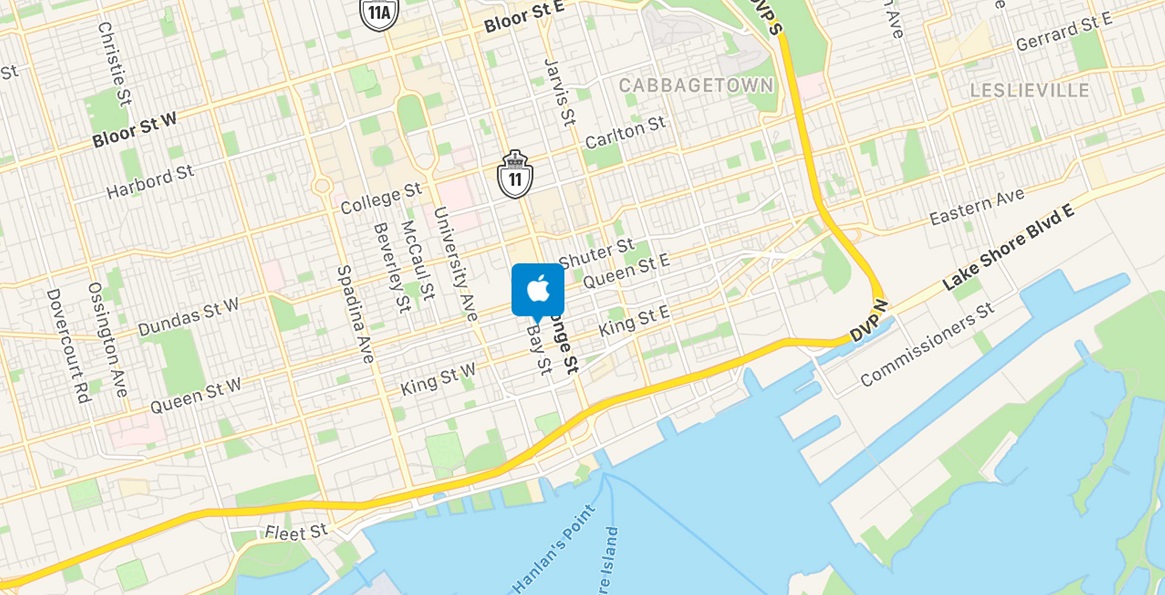
Over the past few weeks we have been working with a web application utilizing Apple MapKit JS. The decision to choose MapKit JS was fairly simple since it offers high quality rendering, very liberal daily quota, and ability to interact with the map dynamically. However, at the time of writing this, MapKit JS is still in beta and it has become very clear the library’s documentation is very much a work in progress. In order to address this issue, next we will explain the basic steps required to get started with Apple MapKit JS.
Step 1. Add library reference
MapKit JS is not available through a package manager, although there are some unofficial versions available through NPM. This is highly unfortunate especially if you are working with modern web platforms and webpack. Instead, the documentation samples recommend adding a reference to MapKit JS CDN distribution.
See here to find the latest version number.
Then add reference to your .html document as follows:
1 | <html> |
* Dear Apple, please release this library as an NPM package
Step 2. Acquire Authorization Token
From the official documentation (1:
MapKit JS requires authorization via JSON Web Tokens (JWT) for initialization and some API calls. You obtain a key used to create the token when you complete the setup in your Apple Developer account.In short this means you either pre-compute a static token, or you must have a server that can generate JWT tokens upon request. If you are familiar with Google Maps, you will notice the MapKitJS map initialization method differs from the former quite significantly. While the map quota is very liberal (250,000 map views/day) it also means you need a server that can support equal request load just for the sole purpose of initializing the map.
See detailed instructions how to generate MapKit JS authorization tokens here ↗.
Once you have the server ready, initialize your map environment as follows:
1 | <script> |
Alternatively, if the token is already known, you may simply call the done function with the token:
1 | <script> |
3. $ Hello mapkit
Good news! Once you have added the MapKit library reference and initialized the map using the token, you are ready to start implementing your own map features.
First thing to notice is the mapkit namespace. It is declared by the MapKit JS library you added in step 1. Whenever you want to manipulate or interact with the map you will use the mapkit namespace. According to Apple’s guide:
The `mapkit` object is the main namespace for the MapKit JS framework. [...] you can use the mapkit library to display interactive maps with customized annotations and overlays, and provide directions and search services.
Next we will use the mapkit to display our map.
4. Display Map
First declare a HTML DOM element where the map should render. In the code snippet below, we added a <div id="map"> element that we will use as the target element where to render the map.
1 | <html> |
Next step is to call the map constructor in javascript. A very basic map constructor looks like this:
1 | <script> |
Notice we pass the id property map of the HTML DOM element, to indicate where we want the map to render. After you complete this step, you should see basic world map ready for further manipulation:

Complete sample setup:
1 | <html> |
That’s it for now on how to get started using Apple’s MapKit JS. Feel free to share your MapKit projects in the comment section below. Happy Coding!