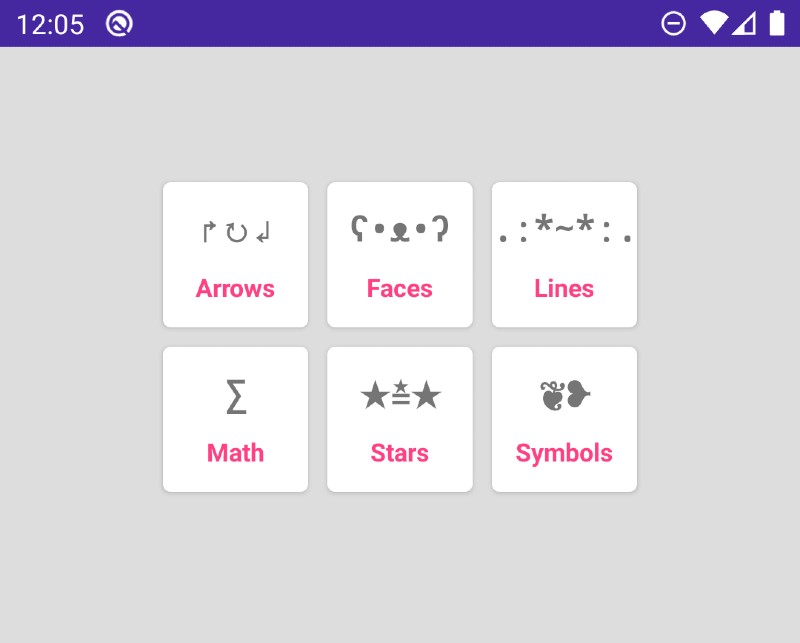
Square views are useful for creating balanced, stylish interfaces. Square views scale nicely to different size screens and create a sense of order. Creating square views in android apps can be tricky, because screen sizes vary greatly and the view needs to fit nicely both horizontally and vertically. Luckily, the solution to achieving this behavior is quite easy, and we will show it to you next.
Our solution includes creating a custom view class, then using that class in XML layouts. Our example includes both Java and Kotlin versions of source code. It is compatible with all android API versions up to current latest (at the time of writing this, Android 10 / API 29), as well as much older API versions — we successfully tested this implementation down to API level 16.
Implementation Details
You can easily create square views by creating a custom view that extends, for example, LinearLayout or RelativeLayout. When implementing this view, the trick is to override the onMeasure method, where the dimensions of the view are calculated. Then, we choose the shorter of the two dimensions (width or height) and pass that single dimension as the width and height to the parent onMeasure method.
Kotlin class implementation of a square view
1 | import android.content.Context |
Java class implementation of a square view
1 | import android.content.Context; |
Layout Usage
After creating this custom view, you are ready to use it in your layouts!
Here is an example how:
1 | <com.mobilefirst.myappname.SquareView |
Notice this sample specifies android:orientation="vertical" because SquareView class extended LinearLayout. If you decided to extend RelativeLayout or some other view, this attribute is not required. Beyond that, set your layout_width and layout_height as usual. You can also combine this view with a CardView to create perfectly square cards with rounded corners and elevation.
Happy Coding!